Distressing a Background
Hello,
I have been asked by Bev and Jacqui to make a little tutorial on how I distress my backgrounds. I just love using these beautiful inks I just couldn't think of crafting without them. I would like to point out that this is just my version of this technique and I do not profess to be an authority on distressing. This is just how I achieve the distressing of my projects and if it helps you then I will be so happy.
The tools that I use are a non-stick crafting sheet, Ranger Cut'nDry foam and Tim Holtz distress ink pads. **SIDENOTE FROM HEIDI: The tim Holtz applicator tool & refills work great in place of the foam.
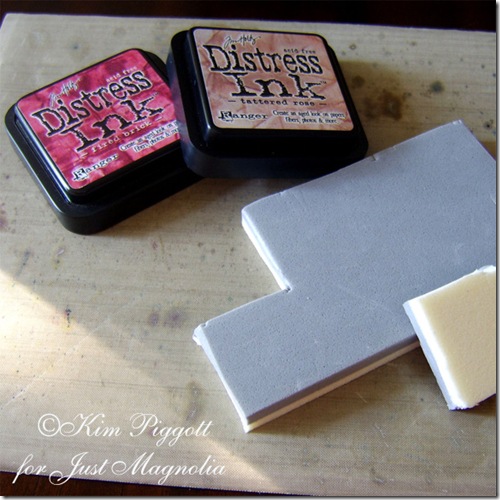
You can buy blending tools to use with the Cut'nDry foam. I cut small pieces of the foam and then just hold the foam pad with my fingers to distress ink on to my projects. I have a piece of foam for each colour and write the name of the ink on the back of the foam so I will not get mixed colours.
I have stamped out my image on to watercolour paper. The brad I use is Waterford 30 x 33 300gsm HP smooth. I really think that when using distress inks for colouring that your quality of paper is so important to achieve the best results.
I then take my Cut'nDry foam and add ink to this by pressing it on to the ink pad.
Then using circular movements gradually add the ink to the card. To achieve a smooth finish you START on the craft sheet NOT the card. Then bring the ink on to your card and gradually, (depending on the depth of colour required) keep adding more ink, re-inking the foam from the ink pad as you go.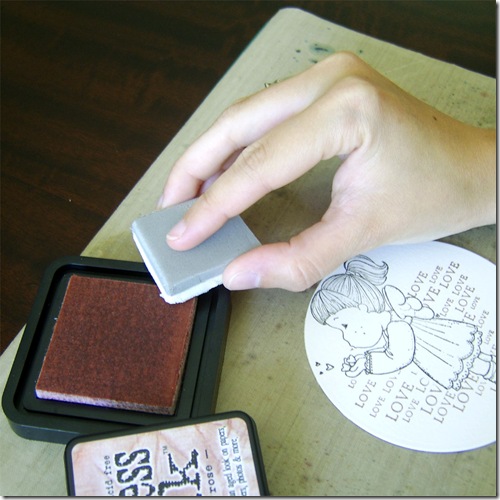 Press foam on to ink pad
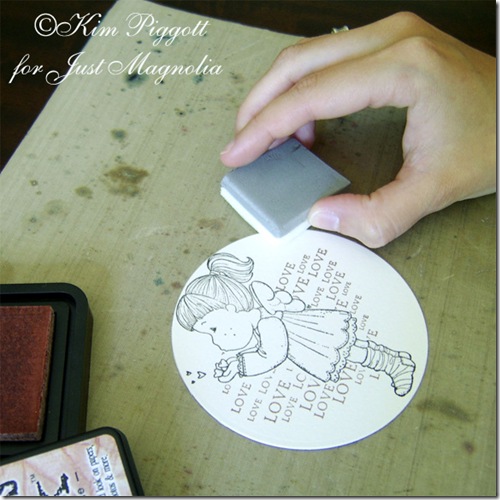 Here I am starting with the Cut'nDry foam on the craft sheet
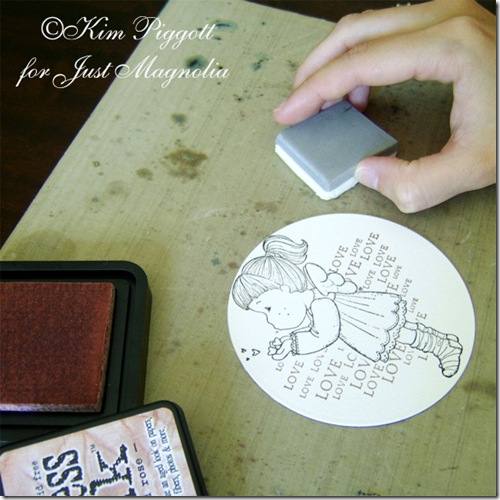 In smooth circular movements bring foam from craft sheet on to card
If you wish to add other colours, you can either add a colour straight on to your first colour which will mix up the colours, or you can dry in-between each colour by using a heat tool to achieve more of a layered effect.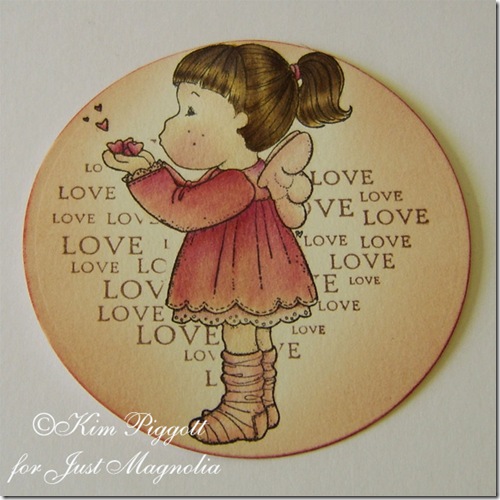 Here is the finished distressed card using tattered rose and edged with fired brick
I always also distress my papers using this method. This is the paper before the ink. 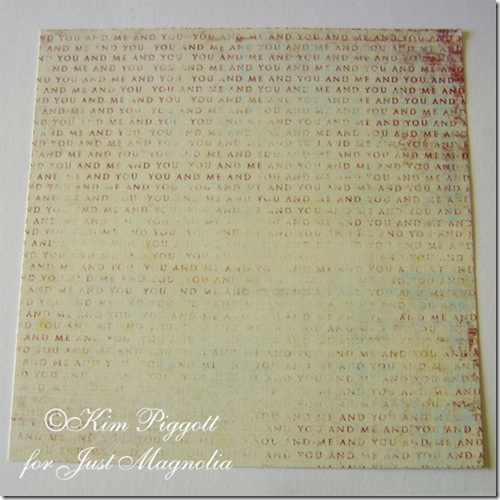
This is the paper after it has been distressed
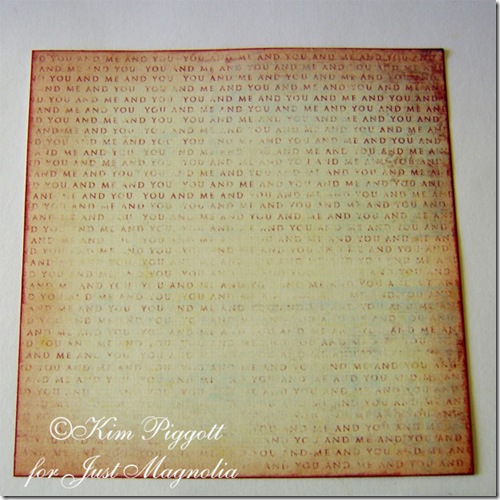
Again, to tie in my image and my papers I have used tattered rose and fired brick
I just like to do this as I feel this brings the project into focus on my card. Also, you can change the colour of your paper which ties in with your image and detail on your project.
I also love to use Glimmer Mists on my projects. In order to minimise mess and to contain the spray when using this I have a cunning tool. A SHOE BOX. I put scraps of paper on the bottom and then place whatever I want to spray on to this.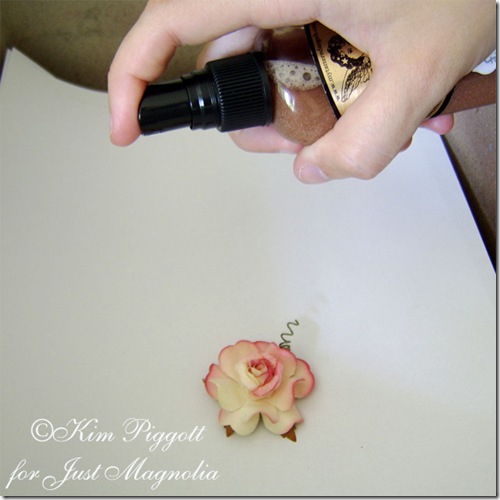
Before spraying, you must ensure that all the mixture is shaken completely, otherwise you will not get a good shimmer effect and you will block the nozzle. If you check the bottom of the bottle you can see the mica.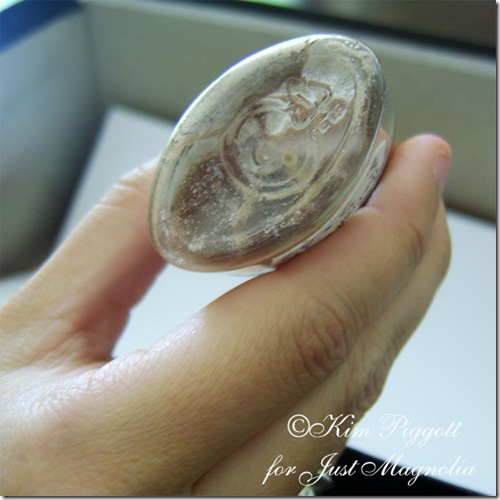 Before you shake the bottle you can see the mica residue
 After shaking the bottom is clear and ready to spray.
Shake the bottle well, you can check that this has been done thoroughly by checking the bottom of the bottle and if no residue is left then you can begin spraying. You only need to do this by using quick, light sprays as a little goes a long way/ When finished I wipe the nozzle to avoid this becoming blocked.
You can leave this to air dry or if you are impatient like me, you can dry it with a heat tool. 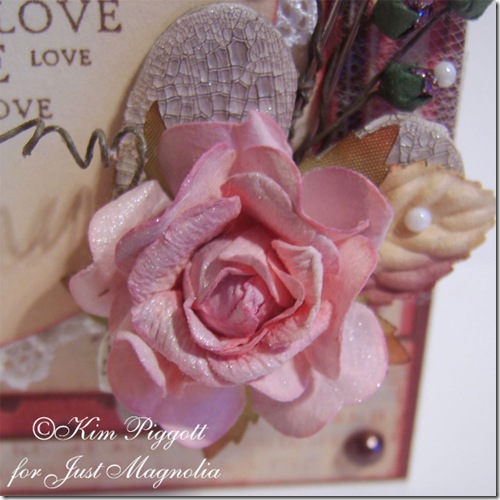 Here is a close up of the rose and heart, you can see the delicious shimmer on the crackle paint too.
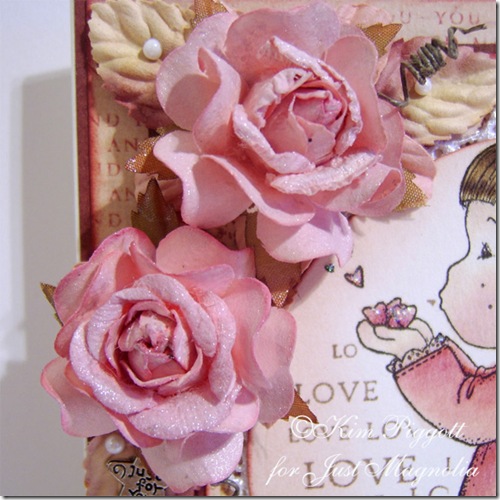 Close up of the two roses with their shimmer.
This is my finished card. I have distressed with tattered rose and sprayed silver gilmmer mist on to my flowers, heart and swirl.
I hope that my little tutorial has helped you. This is my first time at putting something like this into writing, so please excuse my amateur-like attempt.
Love
Kim x
Kim, Thanks again for posting such great instructions for those of us who wonder "how do you do that!?"
Luv,
Heidi
Pin It
SUBSCRIBE TO:
This Blog | Our Newsletter
WE'RE SOCIAL:
Facebook | Twitter | YouTube | LinkedIn | Pinterest | Google+
TAKE THE CHALLENGE:
Simon Says Stamp Challenge! | Vintage Simon Says Stamp & Show Challenge

Thanks Kim, I really enjoyed your Tutorial, I can't wait to give it a try.
ReplyDeletehugs
Sue
Thanks for the tutorial Kim. Beautiful card!
ReplyDeleteHi Kim, thanks for the great tutorial.
ReplyDeleteBrilliant card with an absolut amazing image.
Hugs
Iris
Gorgeous card Kim and fabulous tutorial :-)
ReplyDeleteLorraine x x
Thanks for sharing your technique Kim, it is far from amateurish btw, fabulous clear photos and descriptions that are easy to understand, thankyou & keep up the great work, your card is gorgeous btw :) Now if only someone would do one on how to colour the stamped images, that I have not managed to get right yet :( lol, Cheers Kris
ReplyDeleteOoh, to have all the different colors available... *dreams* mmm... inks...
ReplyDeleteA wonderful tutorial and even more amazing end result! Loving it!
xx,
nunt
Hi,
ReplyDeletethanks - the Card is so beautiful!
Hugs
Domi
Thanks for sharing , very
ReplyDeletebeautiful card !!!!
Greetings Jenny
Hallo Kim!
ReplyDeleteThanks a lot for the perfect tutorial!
I´m from Germany but this one i can understand perfect :o)
And what a beautiful card !!!!!!
Greetings
Moni
fab tutorial !
ReplyDeleteFantastic tut, Kim. Not amateurish at all. VERY well done!!
ReplyDelete