This is the finished product
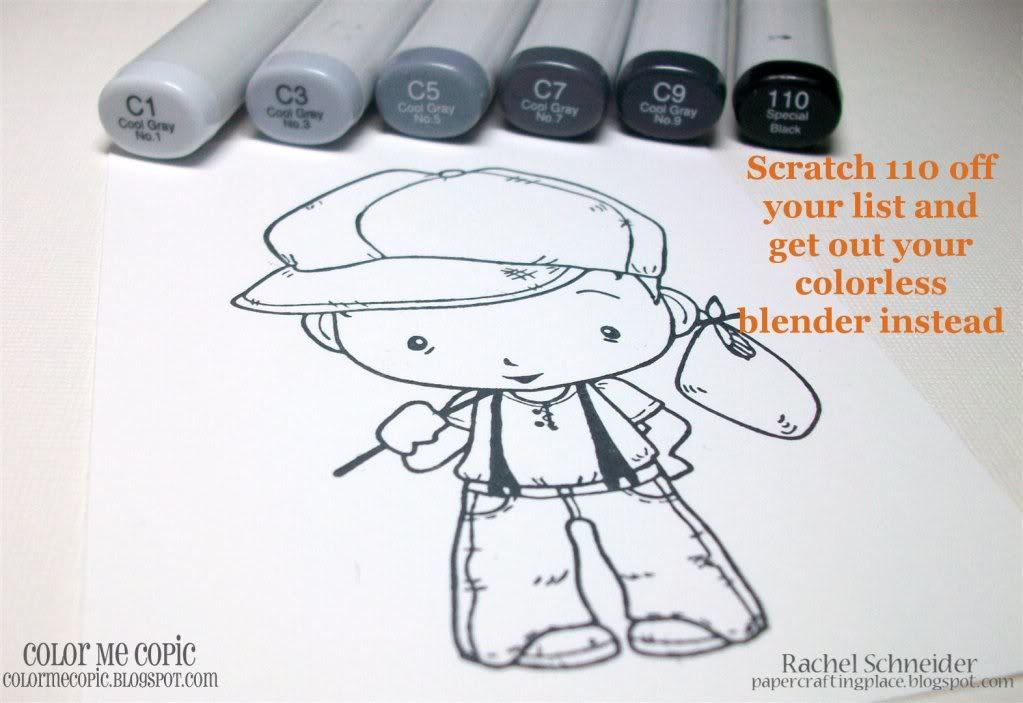
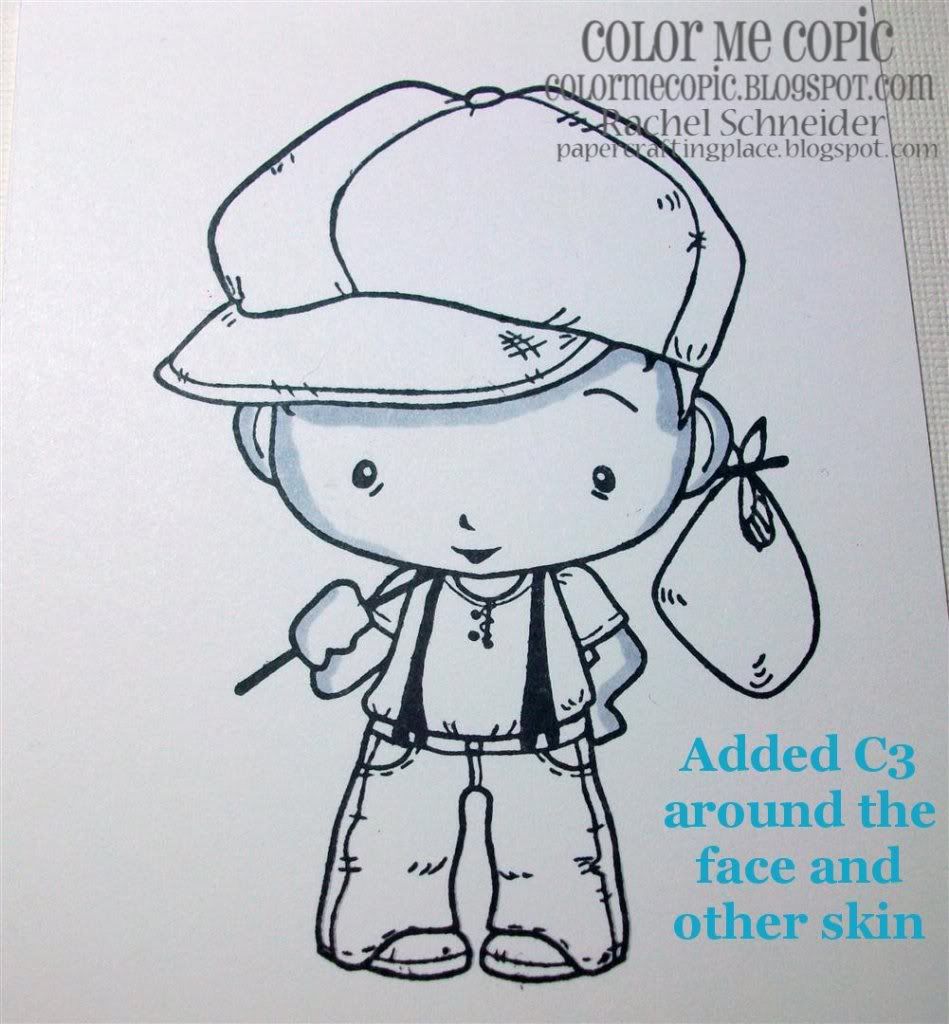
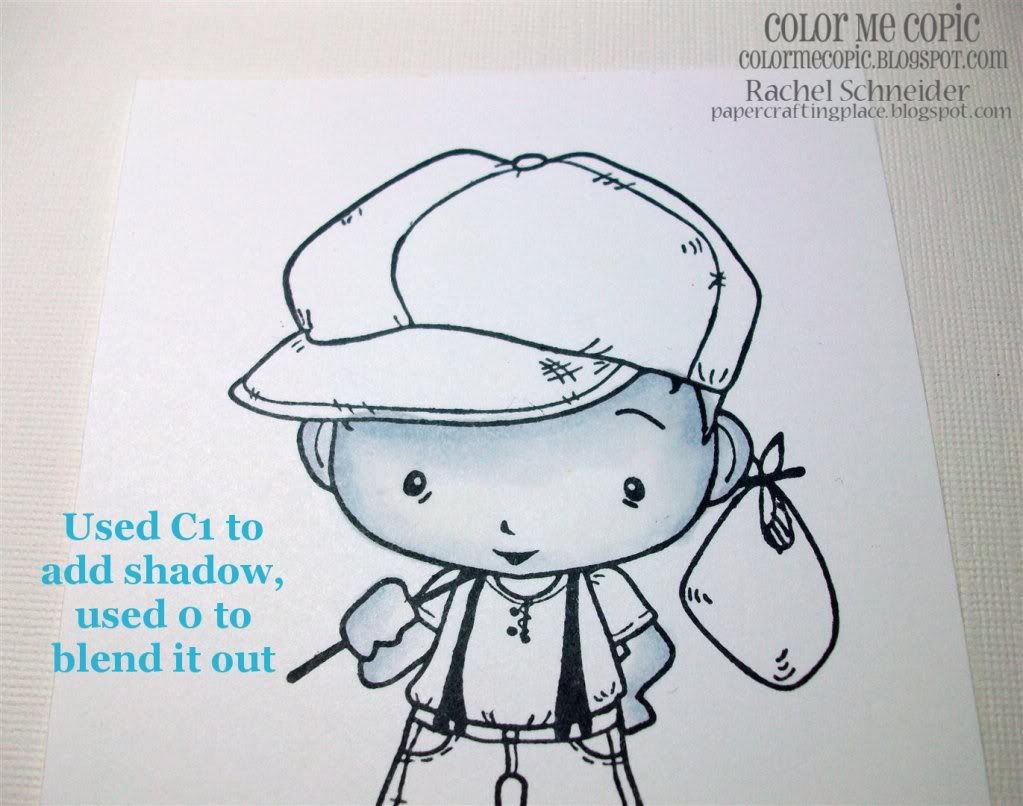
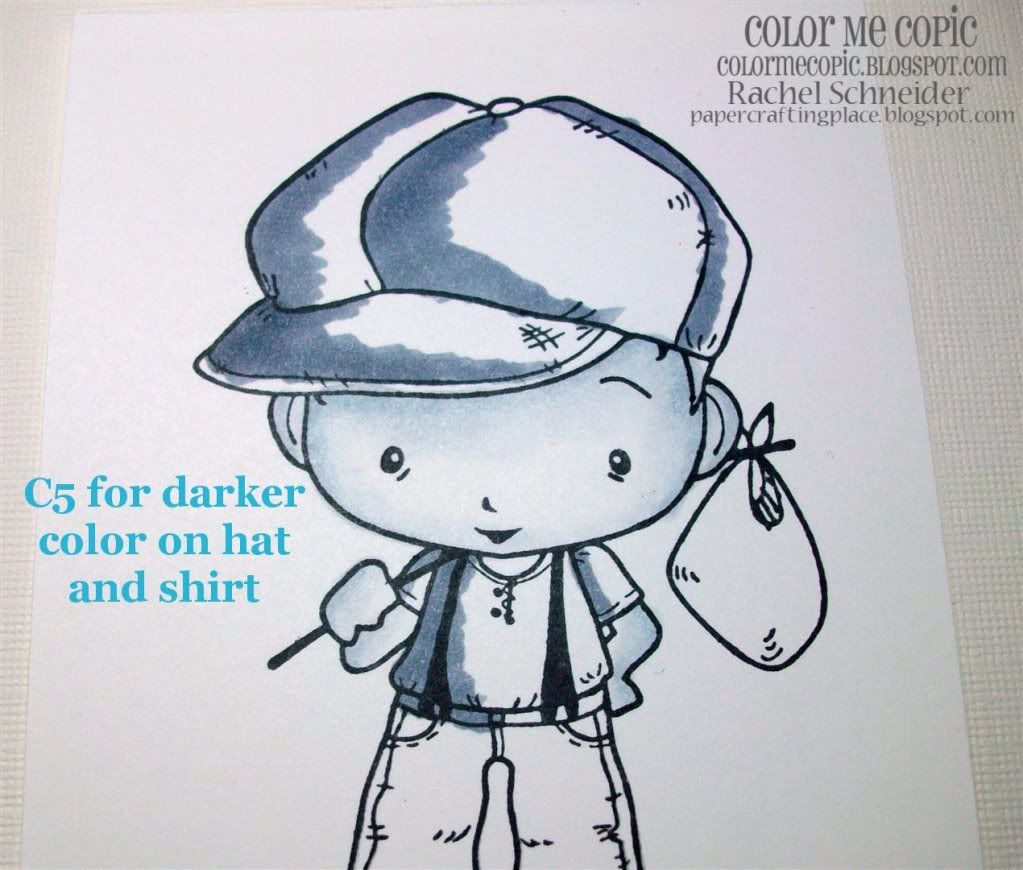
You can use any color of grays that you like, I tend to use the "C's" but neutral and warm grays will work just fine. For this image I'm using C1, C3, C5, C7, C9 and 0 (Colorless blender). Ignore the 110, I didn't end up using it :0)
Last step and finished image!
Ingredients:
Cricut cart - Home Accents (black flourishes)
Glossy Accents (clear coat on flourishes)
I would love to hear your feedback, I hope you enjoy this technique and give it a try for yourself, I think it's fabulous!!

Steph
I would love to hear your feedback, I hope you enjoy this technique and give it a try for yourself, I think it's fabulous!!

Steph
Pin It
SUBSCRIBE TO:
This Blog | Our Newsletter
WE'RE SOCIAL:
Facebook | Twitter | YouTube | LinkedIn | Pinterest | Google+
TAKE THE CHALLENGE:
Simon Says Stamp Challenge! | Vintage Simon Says Stamp & Show Challenge


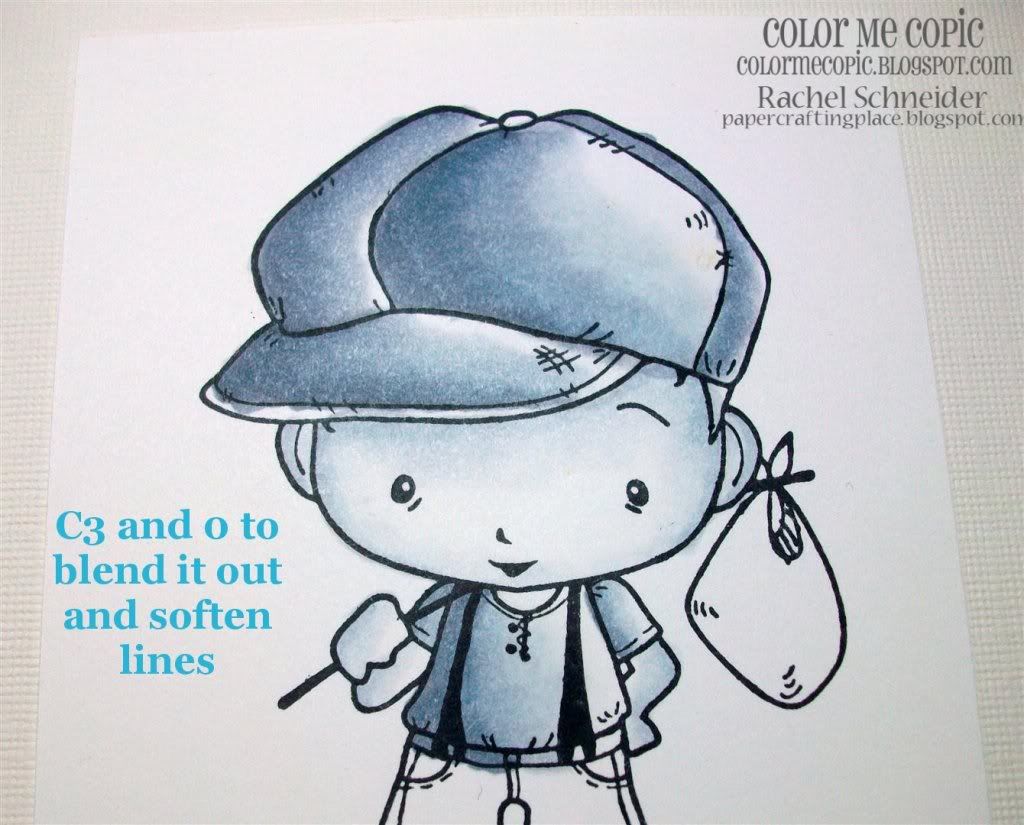

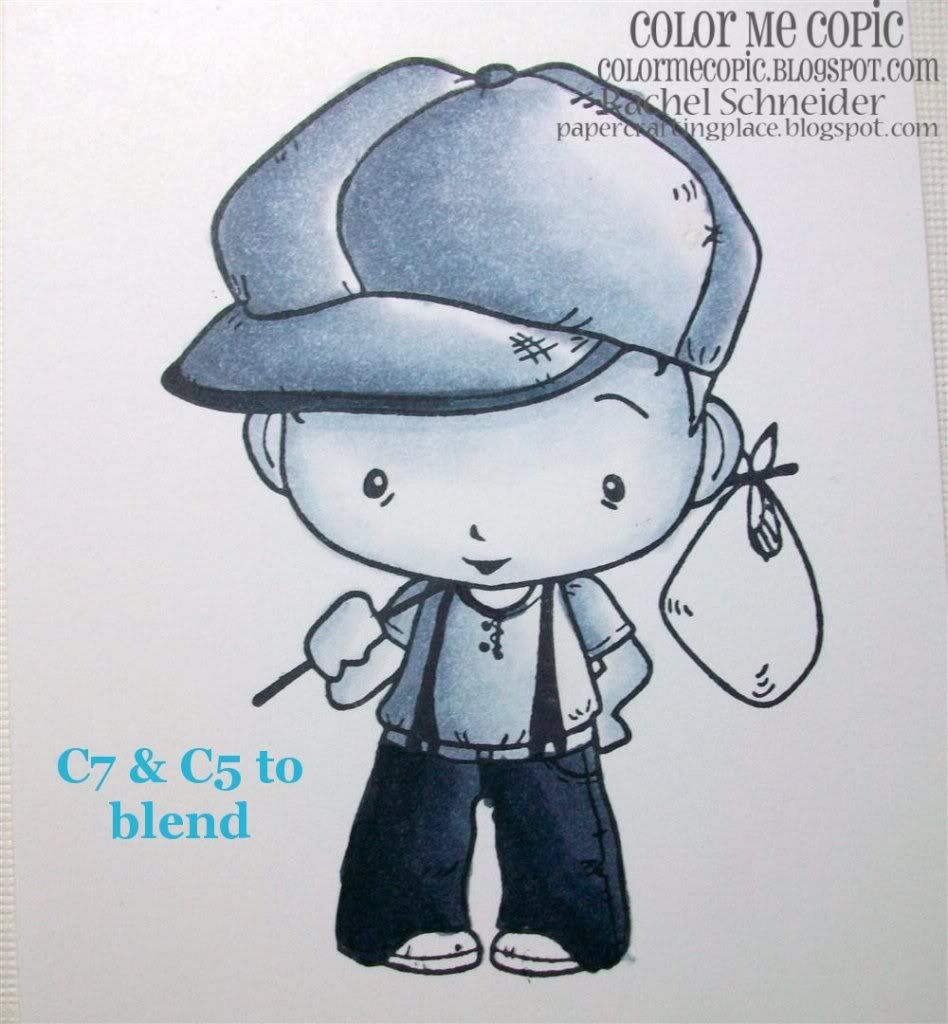

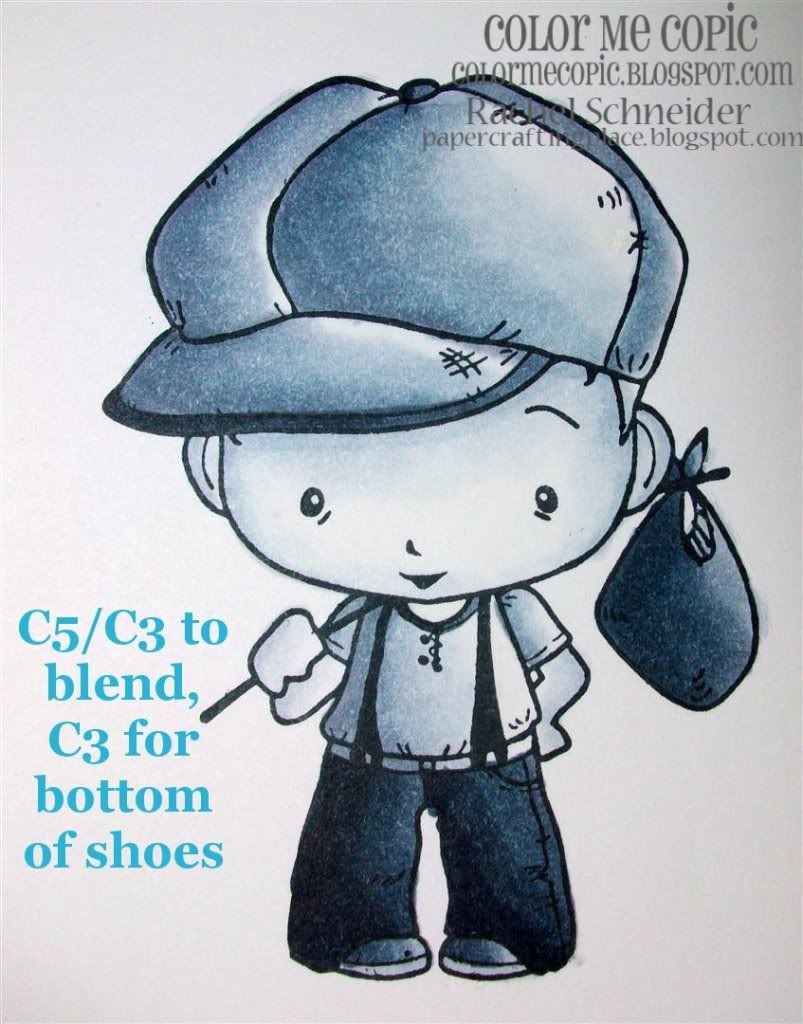
Thats my bestie's tutorial!! Rach is awesome and she does fab work. So cool to see this on your site!!!
ReplyDeleteFabulous tutorial! I can apply this technique to my prisma's as well. Thanks!
ReplyDeleteVery nice tutorial! I don't own copics but you can do quite the same with promarkers...
ReplyDeleteFab tutorial!!!
ReplyDeleteFabulous tutorial!
ReplyDeleteHugs & Blessings
Bernie
Das Tutorial find ich klasse, ich hab Aquarellstifte, schwarz und weiß ist sehr schwer zu colorieren.
ReplyDeletehttp://gilashandarbeitenundbasteleien.blogspot.com/2010/07/2-karten.html
lg gila
oooh this looks great. I don't have Copics but can try this with my Promarkers so thanks x
ReplyDeleteThese colors are something I would have never tried! Rach is an amazing artist! Thanks for the tutorial!
ReplyDeleteOh my Gosh thanks a million! I have Prismacolor Markers but I am certain I can give this a go! Beth
ReplyDeleteGenial dispatch and this mail helped me alot in my college assignement. Thanks you as your information.
ReplyDeleteI would like to exchange links with your site simonsaysstampblog.blogspot.com
ReplyDeleteIs this possible?